Denian's
​FYP Diary
  • FYP Logs
  • About Me
  • FYP Logs
  • About Me
Denian's
​FYP Diary

gallery_C01S03

3/31/2016

0 Comments

 
I took this shot from Vera, modify the ocean based on her process. After some tests, the ocean is more realistic.
Pics below are the working process.
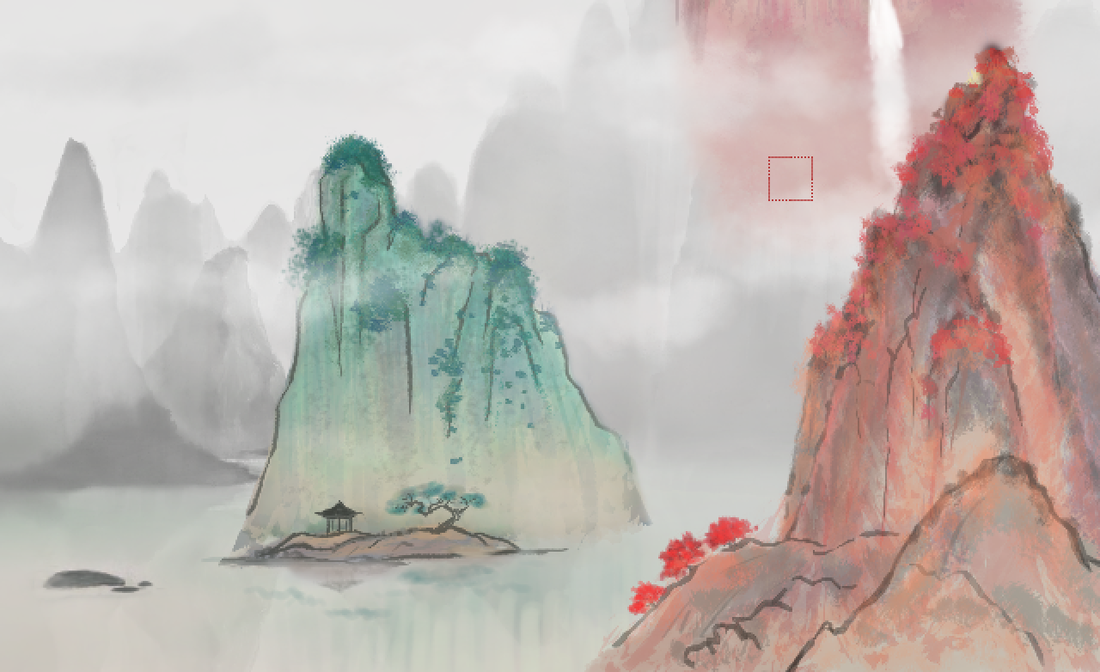
The first one is Vera's ocean, second pic is the first time I composed it in After effect. The ocean's effect is not very good, so I decided to redo it by myself.
I also find a better way to deal with the rain particles. The first version also made by myself, but I found it difficult to deal in AE (premulti fault...)
The first video is the second version for testing. The second video is the final outcome, improvement based on second one is: more fog (made in AE trapcode particular)
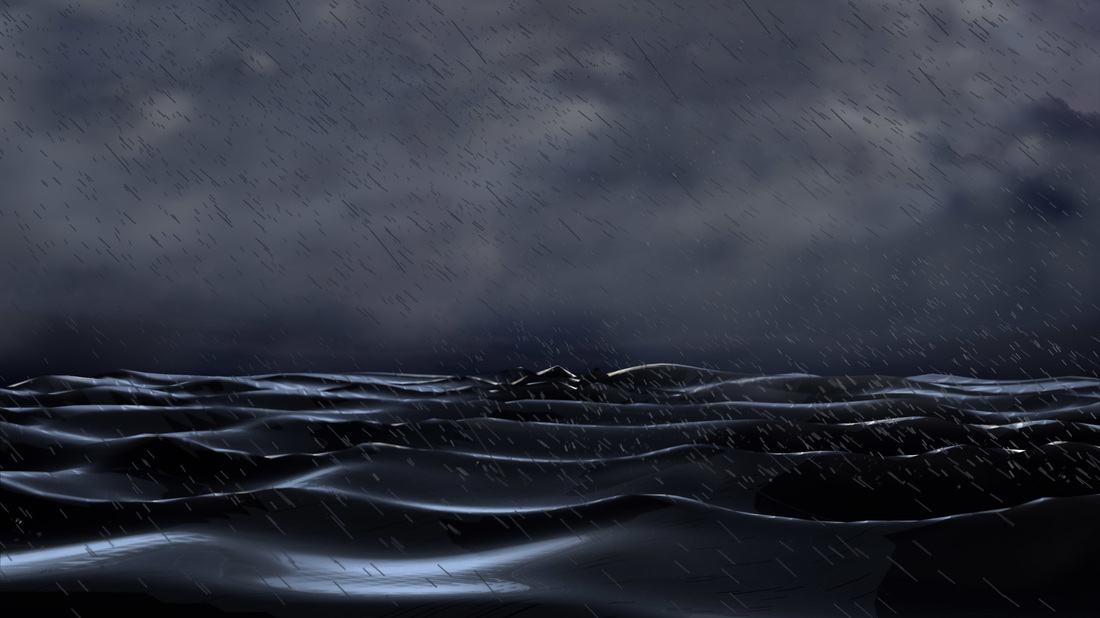
C01S03_v2 from Denian Ouyang on Vimeo.

C01S03_v3 from Denian Ouyang on Vimeo.

0 Comments

latest storyboard + working title

3/29/2016

0 Comments

 
I tidy up the storyboard, collect all the changes to the first version so far, so that the music studio will better understand our animation. Also, at the end of the file, we explain a little bit on our concept.

AND

WE finally come up with a working title: 归去来兮/ To be or not to be

Cheers!
​
归去来兮storyboard_v4.pdf
File Size: 402 kb
File Type: pdf
Download File

0 Comments

gallery_c02

3/28/2016

0 Comments

 
This scene is about the butterfly comes to the flouting Tai-Chi Island and form into flower on the tree which the oldman lying on.
I'm in charge of making the crowd butterflies and the tree.
Dorothy made one tree before she left for exchange, but we find that the result is not very well, so I remade one. 
The technique for making the crowd animation is quiet new for me. Eddie helped a lot by giving me the tutorials and the expression codes.
But even though, I have watched lots of tutorials and have the pdf Eddie gave me, I still encounter some problems. Oh, it's not some, it's a LOT...
What I used to made the final butterfly crowd is not based on one tutorial, but based on numbers of different tutorials. For each one of them, it works very well, but when I tried to combine those together, problems come out.
Finally, I came up with these conclusions:
1. Particle grid can have the random rotation, random size, random position, random start-time, but it's difficult to move them smoothly.
2. Particle emitted from object cannot bare the creation expression for random size and scale.
3. Flow particle is a good way to animate the particle moving curve, but not work well in random size.
0 Comments

file management for C04

3/27/2016

0 Comments

 
C04 is the scene happened in Study Room, combining both 3D and 2D. The textures for certain objects (Lotus Hanging Scroll; Fish Plate; Lady Porcelain; Screen) are different based on shot. Some are normal static texture while some are animated sequence textures. Thus the file management and rendering plan is kinda complicated. So I made the chart below to make it clearer. 
Also, to make the render quicker, I only include the objects showed in the shot and the window side which cast shadows. 
图片
0 Comments

TECHNIQUE_crowd butterfly 

3/27/2016

0 Comments


particle visible in reflection

http://arnoldsupport.com/2015/02/28/the-case-of-the-disappearing-particles/

This post helps a lot on the 'particles cannot be visible in reflection' problem. The way to solve this problem is kinda tricky! 
So the main point is that only particle which can be rendered with Maya Software can be visible in reflection and refraction. So when the particle type with s/w checked, the 'visible in reflection' and 'visible in refraction' boxs are checkable. Then after check them, change the particle type back to the one we want.

curve flow random rotation

Creation Expression is here for reference:

seed(particleId);
float $rotRand=rand(180);
rotateMe=<<$rotRand, $rotRand,$rotRand>>;

rotateMe+=10;

0 Comments

Progress_tutorials

3/27/2016

0 Comments

 
Vera tried the particles for the splash when the whale falling into the sea. But failed for the 'size over lifespan' part, so we watched tutorials tgt to figure out how to make it. But still in the progress.

I scanned the calligraphy pieces made last weekend and did the uv textures for scrolls and book. 

problemSSSS today:
1. The texture for the old book: to create the old feeling, need some bumps.
2. When render the book, what see in the viewpoint is different with rendered out. It's blurry in the rendered image, cannot figure out why, maybe it't camera's problem (focal length?)
http://forums.cgsociety.org/archive/index.php?t-149906.html
3. Light fog effect:
Yesterday, I tried few times with the 'wallwindow file', but failed. The light fog works perfect individual, but when composite with the wall and windows, it came up with problemsssss. And run so slow. 
Tried with the desk top scene, kind of ok.
​
0 Comments

gallery_C04

3/25/2016

0 Comments

 
I made all the modeling and texture of every objects in this room. So delightful to see them, it's like I make a real house by myself!

I learned a lot during this project. Do research on the furniture design refer to Ancient China, make sure all the furnitures share the similar taste but also not same. Modeling the complicated details piece by piece from simply polygons. The most progress I did is about texturing. This is the first time I used UV mapping, and I used this tech a lot. Each piece of objects on both bookshelf and treasureshelf are related to this process. But next time, I will do better in name every texture and every file. 
Back to the research part, which is the most important part I think. I divided the room into 5 parts based on the objects: bookshelf, treasureshelf, desk, screen, window_wall. 
Bookshelf and treasureshelf are similar, the objects are all porcelain, old Chinese treasures. While for the bookshelf, there are some scrolls and bookcases. I re-watch the 'Lang Ya Bang' to find more references. 
For the desk part, most of the object on the desk are related to Calligraphy, which I'm very much familiar with. Anyway I have learned it for 15 years, so I just model them based on my memory. But the texture for the Zhanzi(毡子) really take me more time. At fist, I decided to scan my Zhanzi and ps it into texture, but the effect is not very well, so I used the fabric in Maya.
Also, I did a lot of test in the lighting, to make it more stylish and make better usage of the shadow generated by the window texture. 

C04_comp from Denian Ouyang on Vimeo.

0 Comments

Interveiw and chatting

3/24/2016

0 Comments

 
On 21st, March:
Introduced by our FYP advisor Eddie, we got the chance meet with the lady from RTHK. Me and Vera talked about our project.

On 24th, March:
Also introduced by Eddie, I have a chat with Terrie, who is doing research on student animation project. Different from the previous chat, she wants to know more on our procedure, how we make this work. 

We are appreciate that Eddie gave us so many chances to show our work. And this is a good practice for our final Presentation.
0 Comments

gallery_C01S05

3/21/2016

0 Comments


C01S05_comp_v3 from Denian Ouyang on Vimeo.

C01S05
Butterfly out and fly through landscape. This part is the scene that butterfly on the road heading to our flouting island.
I combine the 2D Chinese landscape painting and the 3D fluid together to create the mysterious and another-world-like atmosphere.
0 Comments

progress so far

3/18/2016

0 Comments

 
Busy in production, just want to say through images below.

As for the BGM, we found a profession studio to work for us. At first, he refuse us for his tight schedule, but after see our animatic, he said that was very attractive, thus agree to cooperate with us. Kinda proud!
It's called Production Yuan http://www.weibo.com/productionyuan?refer_flag=1001030102_&is_all=1
I first heard of him at last year CUC's  animation graduate screening. He composed for a short student animation I liked.
I'm so happy that he accept our work!!! Big progress!!!! 
0 Comments

gallery_C01S04

3/14/2016

0 Comments

 
This shot is about the Butterfly fly out from the ocean. I tried a lot of way to do this shot. 
Basically, the final version have the elements as follows,
1. Ocean ( I made for S03, also used for this shot, but the turbulence and the height of peak wave is changed in the Ocean Shader)
2. Butterfly Fluid, big one and the moving stream.
3. Whirlpool made in After Effect with the FreeForm Plug in
0 Comments

    Archive

    May 2016
    April 2016
    March 2016
    January 2016
    December 2015
    October 2015
    September 2015
    August 2015

    Categories

    All
    Animatic
    Artist Statement
    Final
    Gallery
    Progress
    Storyboard

Powered by Create your own unique website with customizable templates.